One of Google’s biggest goals is to provide the content of the highest quality and relevant search results to it’s users. With the momentum that social media has gained in the past decade, social signals many professionals believe are going to play a larger part in Google’s algorithm. Taking it look at the past two years, Google has put a very strong emphasis on social media by creating Google+ and shortly after, the ability for authors to tie their content to their Google+ profiles by what is called Google Authorship.
When it comes down to it, how we as humans measure an article’s quality is most often determined by how credible and knowledgeable the source is. We seek information, or validation of a new fact, from those we can trust and have an established reputation. This paired with Google’s ongoing efforts to measure a website’s trust, leads me to believe that AuthorRank will be incorporated into how Google ranks a website in the future.
One thing is clear; if you publish content online and want to have it rank higher in the search engines, it’s imperative to set up Google Authorship. Below I’ve outlined one of the many ways that you can do so.
Before we begin, you will need two things:
1.) A public Google+ profile.
2.) Access to the blog you write for
How to Set Up Google Authorship Using rel=”author”
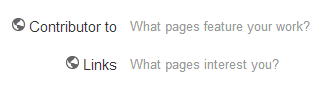
First, visit your Google+ profile and click Edit profile. Go to the “Contributor To” section of your Google+ profile and add the URL of the website that you write for. That way, Google will associate you as an author of that particular website.
Next, you will need to visit your author page of the blog you write for so you can link back to your Google+ profile. You can do this by linking to your Google+ profile URL using your name as anchor text. The name you use must match the name of your Google+ profile. Most important, the link must contain the ?rel=author parameter at the end of your profile’s URL. Without this parameter, Google will not be able to verify you as the author.
Here is what the code should look like:

Replace the red Google+ URL and my name with your personal information link and name, and you will have the exact code you need.
Now that all of the pieces are in place, it’s time to verify that the Google Authorship markup code is valid. Validating your work is made easy by Google. Simply visit Google’s Rich Snippets Testing Tool.
After you arrive at the Rich Snippets Testing Tool page, paste the URL of your blog post and click the preview button. A successful validation means that Google returned an example of your Author Rich Snippet.
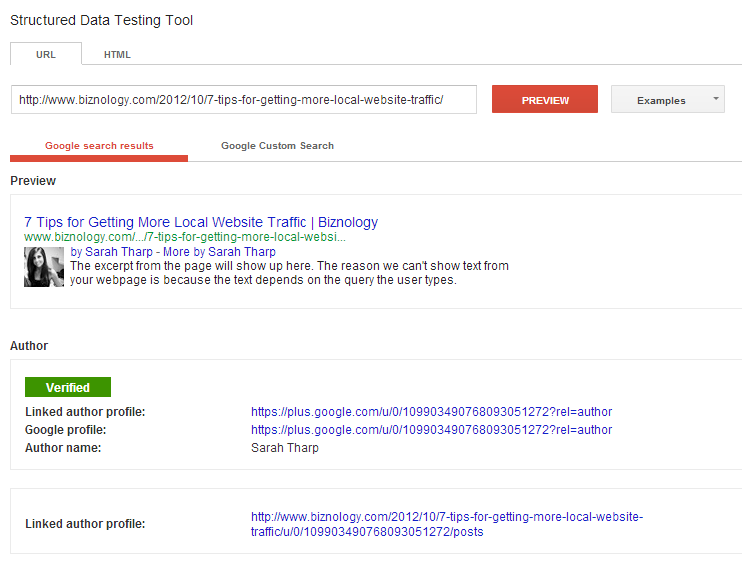
Important to note, it may take a few days for Google to recognize the association between profile and content and re-crawl your blog post for your Author Rich Snippet to appear.
Google’s pursuit of quality search results is relentless and how they determine where certain content should rank is ever-changing. One thing is certain though; you will benefit in the long run by setting up Google Authorship and creating high-quality, original content.